Day 55 - Origami Giant water bug

It is one of the insect model which I really liked as it's easy,simple,traditional yet beautiful.
It may seem difficult but it's easy.I feel it's more of a kirigami model than origami.It was something which I found bit strange was that most of the traditional model i folded started with some other base fold but yet I find most of the insect folds start with bird base.
Photo Instructions:-
Step 1:-
Start with bird base

Step 2:-
Fold backward.

Step 3:-
Pocket fold the top two folds as shown below

Step 4:-
Crease along the black mark and pocket fold it.


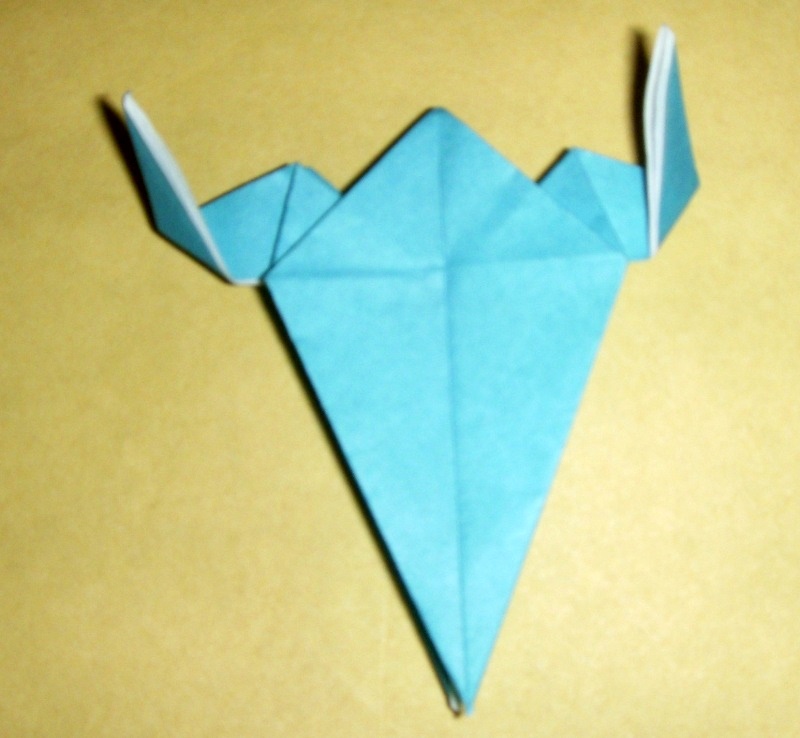
Step 5:-
Fold inwards along the black line on the sides on both the sides as shown below and fold at the bottom on the top only


Step 6:-
Turn it over and cut at the bottom of the flap.

Step 7:-
Fold the cuts up to make the legs as shown below

Step 8:-
Turn over and draw the eyes.

You can get the diagram at Origami-club.

It is one of the insect model which I really liked as it's easy,simple,traditional yet beautiful.
It may seem difficult but it's easy.I feel it's more of a kirigami model than origami.It was something which I found bit strange was that most of the traditional model i folded started with some other base fold but yet I find most of the insect folds start with bird base.
Photo Instructions:-
Step 1:-
Start with bird base

Step 2:-
Fold backward.

Step 3:-
Pocket fold the top two folds as shown below

Step 4:-
Crease along the black mark and pocket fold it.


Step 5:-
Fold inwards along the black line on the sides on both the sides as shown below and fold at the bottom on the top only


Step 6:-
Turn it over and cut at the bottom of the flap.

Step 7:-
Fold the cuts up to make the legs as shown below

Step 8:-
Turn over and draw the eyes.

You can get the diagram at Origami-club.
No comments:
Post a Comment