Day 62 - Origami Wedding Dress

This week I am trying out Origami dress.Starting with origami Wedding dress.You need a white square sheet of paper for this.It's a nice and cute little dress.
I found the last fold a bit tough as the folds are almost done and the belt part where you need to fold it would be thick due to step fold so the last fold doesnot come crisp if you are using small paper ( in my case the paper is 3*3 inch).
You get the diagram and animation at origami-club.
Folding Instruction:-
Photo Instruction:-
Step 1 :-
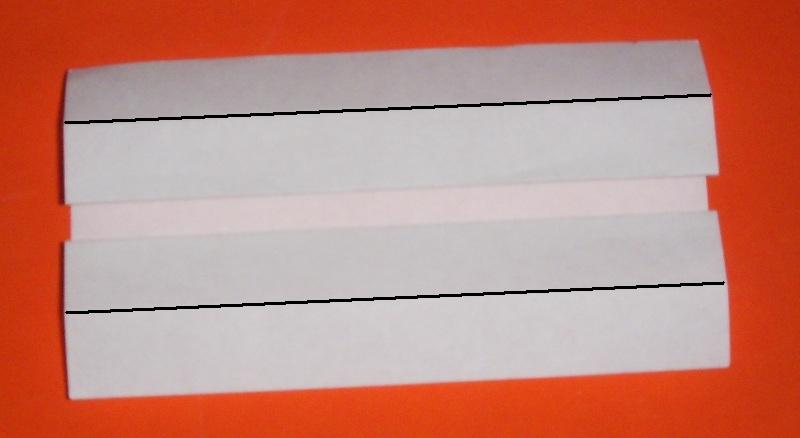
Pre crease in half and then pre crease along the black line as shown below.


Unfold to get the pre crease.

Step 2 :-
Step fold along the black line


Step 3 :-
Fold in half and along the black line .Open the folds outwards so that you get the frills of the dress.


Step 4 :-
Fold along the black line outwards to get the sleeves


Turn it over

Step 5 :-
Fold along the black line outwards


Step 6 :-
Fold along the black line backwards


Step 7 :-
Step fold along the black line


Step 8 :-
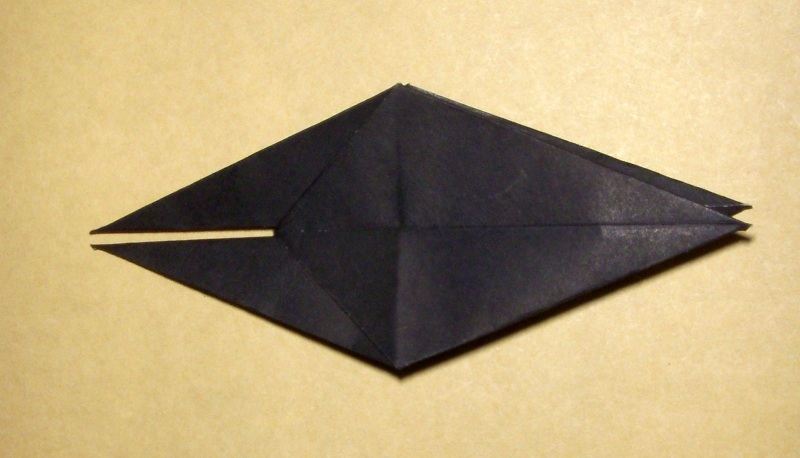
Fold along the black line

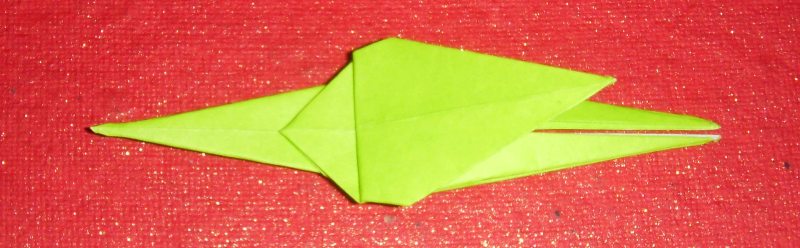
Done.
Video :-

This week I am trying out Origami dress.Starting with origami Wedding dress.You need a white square sheet of paper for this.It's a nice and cute little dress.
I found the last fold a bit tough as the folds are almost done and the belt part where you need to fold it would be thick due to step fold so the last fold doesnot come crisp if you are using small paper ( in my case the paper is 3*3 inch).
You get the diagram and animation at origami-club.
Folding Instruction:-
Photo Instruction:-
Step 1 :-
Pre crease in half and then pre crease along the black line as shown below.


Unfold to get the pre crease.

Step 2 :-
Step fold along the black line


Step 3 :-
Fold in half and along the black line .Open the folds outwards so that you get the frills of the dress.


Step 4 :-
Fold along the black line outwards to get the sleeves


Turn it over

Step 5 :-
Fold along the black line outwards


Step 6 :-
Fold along the black line backwards


Step 7 :-
Step fold along the black line


Step 8 :-
Fold along the black line

Done.
Video :-