Thursday, February 3, 2011

Origami Sailor Suit

Day 65- Origami Sailor Suit

Origami Sailor suit is similar to Origami Skirt.This one also belongs to the very easy category of origami folds.

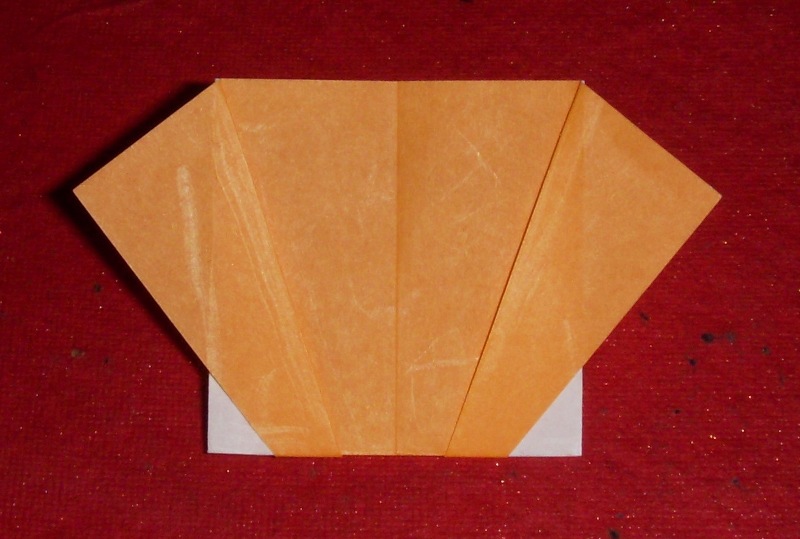
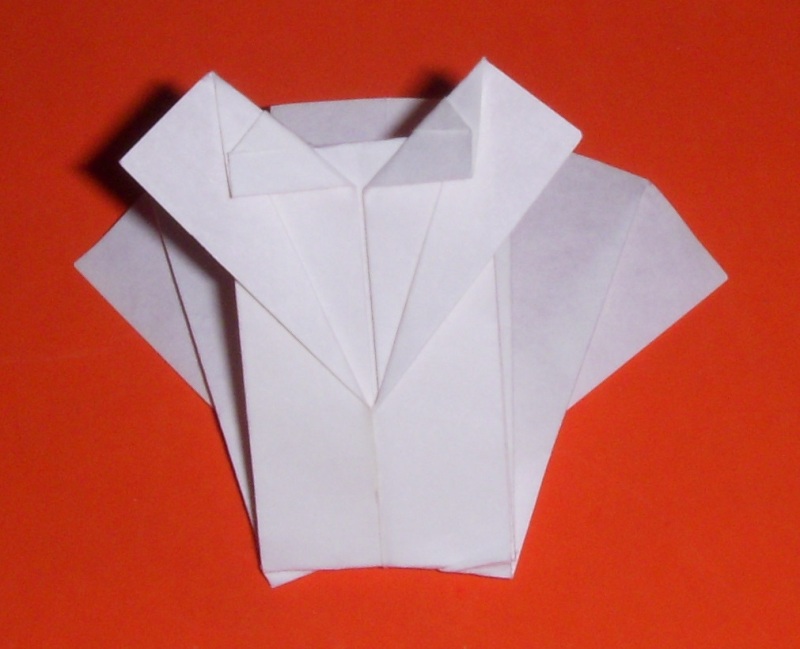
By similar to Origami skirt I mean really similar ,except for the last fold which is backwards in the case of origami skirt this is towards the front and as you turn over the model you get Origami sailor suit.

It is a 2D model and can be used in cards.

Folding Instructions:-

You can get the diagram and animation at Origami club.

Photo Instructions:-

Step 1:-
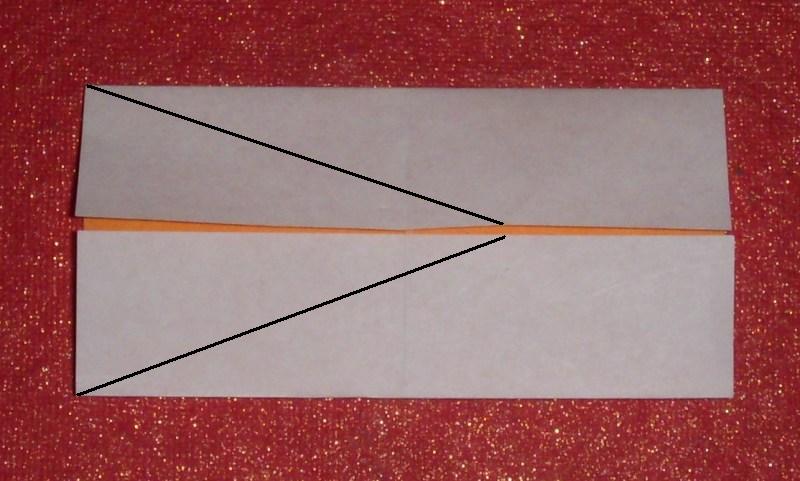
Take a square paper with colour side up.Fold in half and unfold to pre crease.Fold along the black line as shown below.


Step 2:-
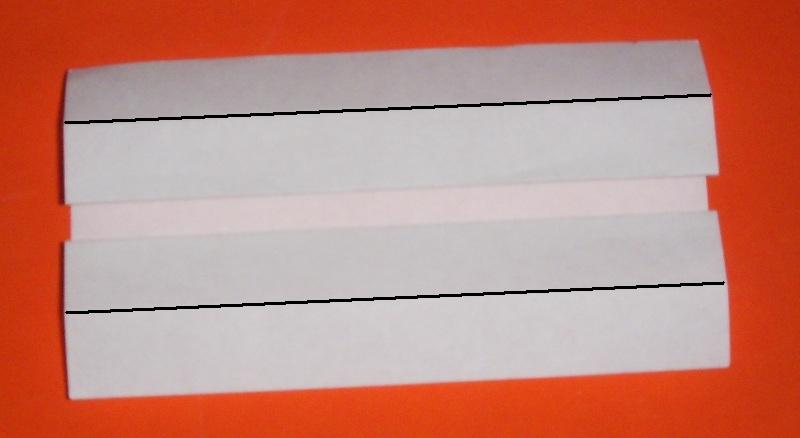
Fold along the black line outwards as shown below.


Step 3:-
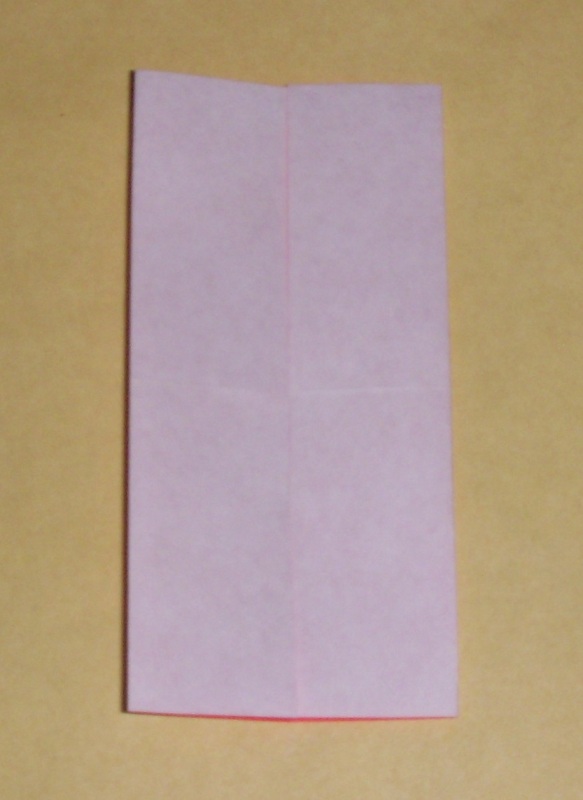
Fold it in half .


Step 4:-
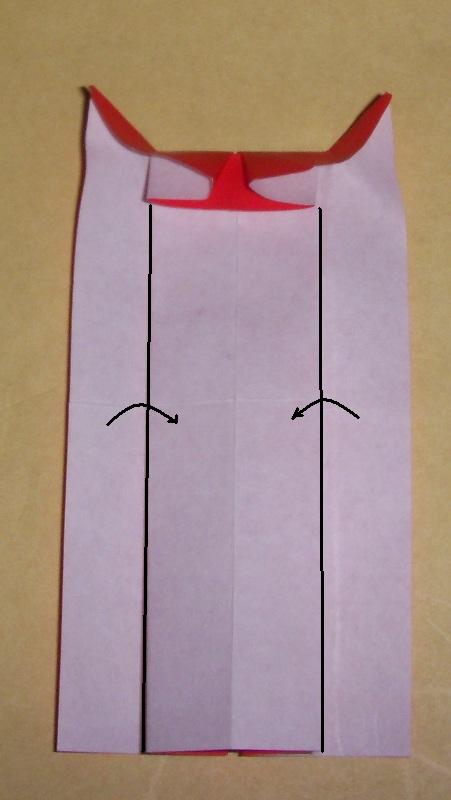
Turn it over .Fold along the black line backwards as shown below.


Done


Here is the sailor suit as the top of the skirt and the skirt together.I have folded a bit at the end of the sailor suit to make it a bit sleek so that it matches well with the skirt.


Wednesday, February 2, 2011

Origami Skirt

Day 64- Origami Skirt

Origami skirt is one of the very easy category of origami folds.It is a 2D model and can be used in cards.

Folding Instructions:-

You can get the diagram and animation at Origami club.

Photo Instructions:-

Step 1:-
Take a square paper with colour side up.Fold in half and unfold to pre crease.Fold along the black line as shown below.


Step 2:-
Fold along the black line outwards as shown below.


Step 3:-
Fold it in half .


Step 4:-
Fold along the black line backwards as shown below.


Turn it upside down to get the skirt


Video:-

Here is a video by japonyol.

Tuesday, February 1, 2011

Origami Evening Dress

Day 63 - Origami evening dress


This is bit tougher than the origami wedding dress why because I find the final step where you give the dress shape it becomes really tough because 1st thing i found the found bit arbitary and second due to the step fold the part becomes thick and the fold difficult also as the fold has to be in the upper and the lower part one fold overlaps other making it bit difficult specially when using a small paper.

You can use single side colour or both side coloured paper.I have used a single side coloured paper of 3*3 inch size.

This can be used for greeting cards.In etsy shop called KittyKatKard's you can see the use of this dress on cards and if you don't have the patience to fold and still want to get one you can buy it from the KittykatKard's.

Folding Instruction:-
Photo Instruction:-


Step 1:-
Fold it in half for pre creasing.


Unfold


Step 2:-
Fold along the black lines as shown below


Unfold


Step 3:-
Step fold along the black lines as shown below


Turn it over


Step 4:-
Fold along the black lines as shown below


Step 5:-
Fold along the black lines as shown below


Step 6:-
Fold along the black lines outwards as shown below to get the skirt


Step 7:-
Step fold along the black lines


Step 8:-
Fold along the black lines inwards as shown below to get the final shape


Turn over and done

Monday, January 31, 2011

Origami Wedding Dress

Day 62 - Origami Wedding Dress


This week I am trying out Origami dress.Starting with origami Wedding dress.You need a white square sheet of paper for this.It's a nice and cute little dress.

I found the last fold a bit tough as the folds are almost done and the belt part where you need to fold it would be thick due to step fold so the last fold doesnot come crisp if you are using small paper ( in my case the paper is 3*3 inch).

You get the diagram and animation at origami-club.

Folding Instruction:-
Photo Instruction:-


Step 1 :-

Pre crease in half and then pre crease along the black line as shown below.


Unfold to get the pre crease.


Step 2 :-
Step fold along the black line


Step 3 :-
Fold in half and along the black line .Open the folds outwards so that you get the frills of the dress.


Step 4 :-
Fold along the black line outwards to get the sleeves


Turn it over


Step 5 :-
Fold along the black line outwards


Step 6 :-
Fold along the black line backwards


Step 7 :-
Step fold along the black line


Step 8 :-
Fold along the black line


Done.


Video :-